I am always looking for themed activities for my kids! I thought I’d share a few of my favorite fall activities for you to try with the children of your life!
This free printable works well as a fall craft to go with a colorful fall leaves walk!
A few years ago, we had a very special blessing to appreciate & celebrate, as featured by a well recognized site from my post here Another Thanksgiving Blessing!
If you are like me, you don’t look forward to trying to carve pumpkins into jack o’lanterns. In fact, I am totally paranoid about using sharp knives and carving instruments with my little ones. So, to satisfy their desire to decorate pumpkins while keeping my anxieties quiet, we just don’t cut, carve or otherwise mutilate our pumpkins.
Do decorate your pumpkins!
You can do so many things with them without cutting, and they should last all the way until time to decorate for Christmas! I love to do a pumpkin with a thankful theme. My children like to make pumpkins representing themselves. We have also done pumpkins that were just randomly decorated. Be inspired by what you like! I’m more about making fall decorations with my pumpkins and less about making them holiday oriented. Most Halloween themed things don’t pass my rules, anyway, since I don’t allow witches and wickedness in our décor this time of year.
Big Sister Pumpkin
Be creative and have fun!
My kids chose their pumpkins this year. They each chose a small one to represent themselves, and my oldest daughter picked a miniature one to represent their baby sister. They wanted to do their own decorating of their own pumpkins, and to give me ideas of what they wanted me to do for baby sister. 🙂
We used materials we had on hand. My deceased mother in law absolutely adored Halloween, and we wound up with some of her craft supplies. I allowed my kiddos to choose some items from those as part of their pumpkin decorating. We wound up using sequined candy corn and stars, googly eyes, ribbon and paint on the bigger munchkins’ pumpkins in the designs of their choosing and creation. I helped very little, since they were having fun and I wanted them to have pride in creating their own. We used smaller googly eyes, a real piece of candy corn for a nose, raffia and pipe cleaner for the baby’s miniature pumpkin.
Big Brother Pumpkin
Have a safe and happy autumn!!!!
We managed to decorate these with no booboos and minimal stress. My biggest concern was making sure the paint and glue stayed on the newspapers I laid out on the kitchen floor where we were working!
Need an inexpensive and easy fall craft for kids? Try my upcycled paper plate pumpkin masks!
I try to do a craft of some sort at least once or twice a week with my children, mostly using items we have on hand or that will cost me very little to get the supplies for. This was one of our recent projects, using only items I already had in my cabinets. These masks were pretty quick to pull together, as well as lots of fun for my little ones to help make and play with when they were finished. If you need a simple and cheap autumn craft for children, this is for you!
“Penny Pinching Peach is a participant in the Amazon Services LLC Associates Program, an affiliate advertising program designed to provide a means for sites to earn advertising fees by advertising and linking to Amazon.com”
Want to know how to make your own paper plate pumpkin mask? Keep reading!
Pumpkin Mask Supplies
First, gather your supplies. In case the photo isn’t enough explanation, here’s your crazy long list of things you need:
Next, let your kiddos color the middle round part of the plate orange (or another color, if they’re feeling funky). Cut the round center part of the plate out.
Hold the cut out near your child’s face and put a dot on the plate where the eyes and mouth should go, then draw the shapes they want them to be. I scored the lines with my scissors and then went back over them with a knife to cut them the rest of the way out.
Poke a hole in each side of the pumpkin mask for the ribbon to go through. Have your child hold the mask up and then wrap the ribbon around from hole to hole to figure the length. You can do the strap one of two ways. Either two pieces of ribbon you tie on (my choice) or one solid piece they slide on and off their heads. I wrapped it behind and added enough length to tie through the holes as well as tying a bow in the back, which was a few extra inches. Cut and tie the ribbon through the holes.
Paper Plate Pumpkin Mask
Your child will be ready to go crazy as a walking jack o’lantern!
We were given a few of the best Halloween books from my mother in law’s expansive collection of all things autumn.
Halloween was her favorite holiday, by far. We lost her recently, so even though I don’t generally go all out for this particular holiday, I decided to do a Halloween themed story time with my munchkins in her honor, complete with a craft, game and treat. She also loved all things crafty, and was a retired Head Start teacher, so I know that she would have enjoyed it.
“Penny Pinching Peach is a participant in the Amazon Services LLC Associates Program, an affiliate advertising program designed to provide a means for sites to earn advertising fees by advertising and linking to Amazon.com”
It’s quite the cute little book, and not the least bit scary. My little girl is strongly opposed to all things “creeeeepyyyyy”, as she says, so that was a must. 🙂 This book and activity would be fun any time of the year, but especially for fall and Halloween. I love that it fits the season without being too scary for little kids.
Pipe cleaner arms and legs
First on our agenda are ghost and monster puppets!
To make these, you just need craft sticks like Loew Cornell 1021254 Woodsies Craft Sticks, 1000-Piece (or popsicle sticks), Crayola Construction Paper, Assorted Colors, 240 Sheet (99-3200)or cardstock, pipe cleaners like these Creativity Street Stetems/Pipe Cleaners 12″ X 4mm 100-Piece Assorted Colors, tape and something to color with. I sketched the requested outlines for their ghosts and monsters, but if you don’t have a knack for drawing, just print or trace the outlines. While I let my five and two year olds loose to decorate their respective puppets, I grabbed a couple of pipe cleaners and snipped them into four pieces each for the monsters’ legs and arms. You need one pipe cleaner per monster. I just twisted loops at one end of each to make hands and feet. Once they were finished coloring, I cut out their creepy (bahaha!) creations and helped them tape the arms and legs on the monsters and the craft sticks on all of the puppets. See? Super simple, easy peasy!! As I mentioned, even my two year old could participate in this activity.
If you don’t want to bother making your own puppets, this set of teeny tiny finger puppets is super inexpensive and awfully cute Monster Finger Puppets – Collect all 8!
Halloween Monster Back
Below you see my munchkins proudly displaying their one-of-a-kind ghosties and monsters. Quite the colorful creatures, aren’t they? 🙂 They get all the credit, since Mommy literally left them to it while she finished the legs and arms and worked on dishes.
Monster and Ghost Puppets
Now for the next part of our freaky fall fun fest!! Halloween storytime, with a game!
I settled them down in our oversized chair, and instructed them to hold up their ghost puppets when they heard the word “ghost” and their monster puppets when they heard the word “monster”. As you can see, they had to concentrate to hear those key words, but they did really well and thought it was the neatest way to read a book together.
Halloween Game
We weren’t ready to be finished with that, so the kiddos put on a Halloween puppet show for me using their new monster puppets.
While I won’t pretend that the script was riveting, they were pretty doggone cute in their attempts at a story line. My two year old really didn’t get it, and wound up watching his sister’s puppets more than doing anything with his own, but they had a blast, anyway. Puppet time is great for creative children!
Monster and Ghost Puppet Show
For the grand finale, I brought out their trick or treat buckets from the fall festivals we attended the other day and let them both pick out a sweet treat. As you can see, they were quite pleased with that finish! 🙂
Do your little ones enjoy books and puppets? What are your favorite books for autumn? For a fun pumpkin activity to do with your little ones, try No Carving Pumpkin Family!
I just ordered a couple of the free photo bargains available right now, and thought I’d share the joy. I’m always looking for free or extremely cheap deals on getting my kiddos’ adorable pictures printed, and I’m sure it is the same for most of us who like snapshots of memories.
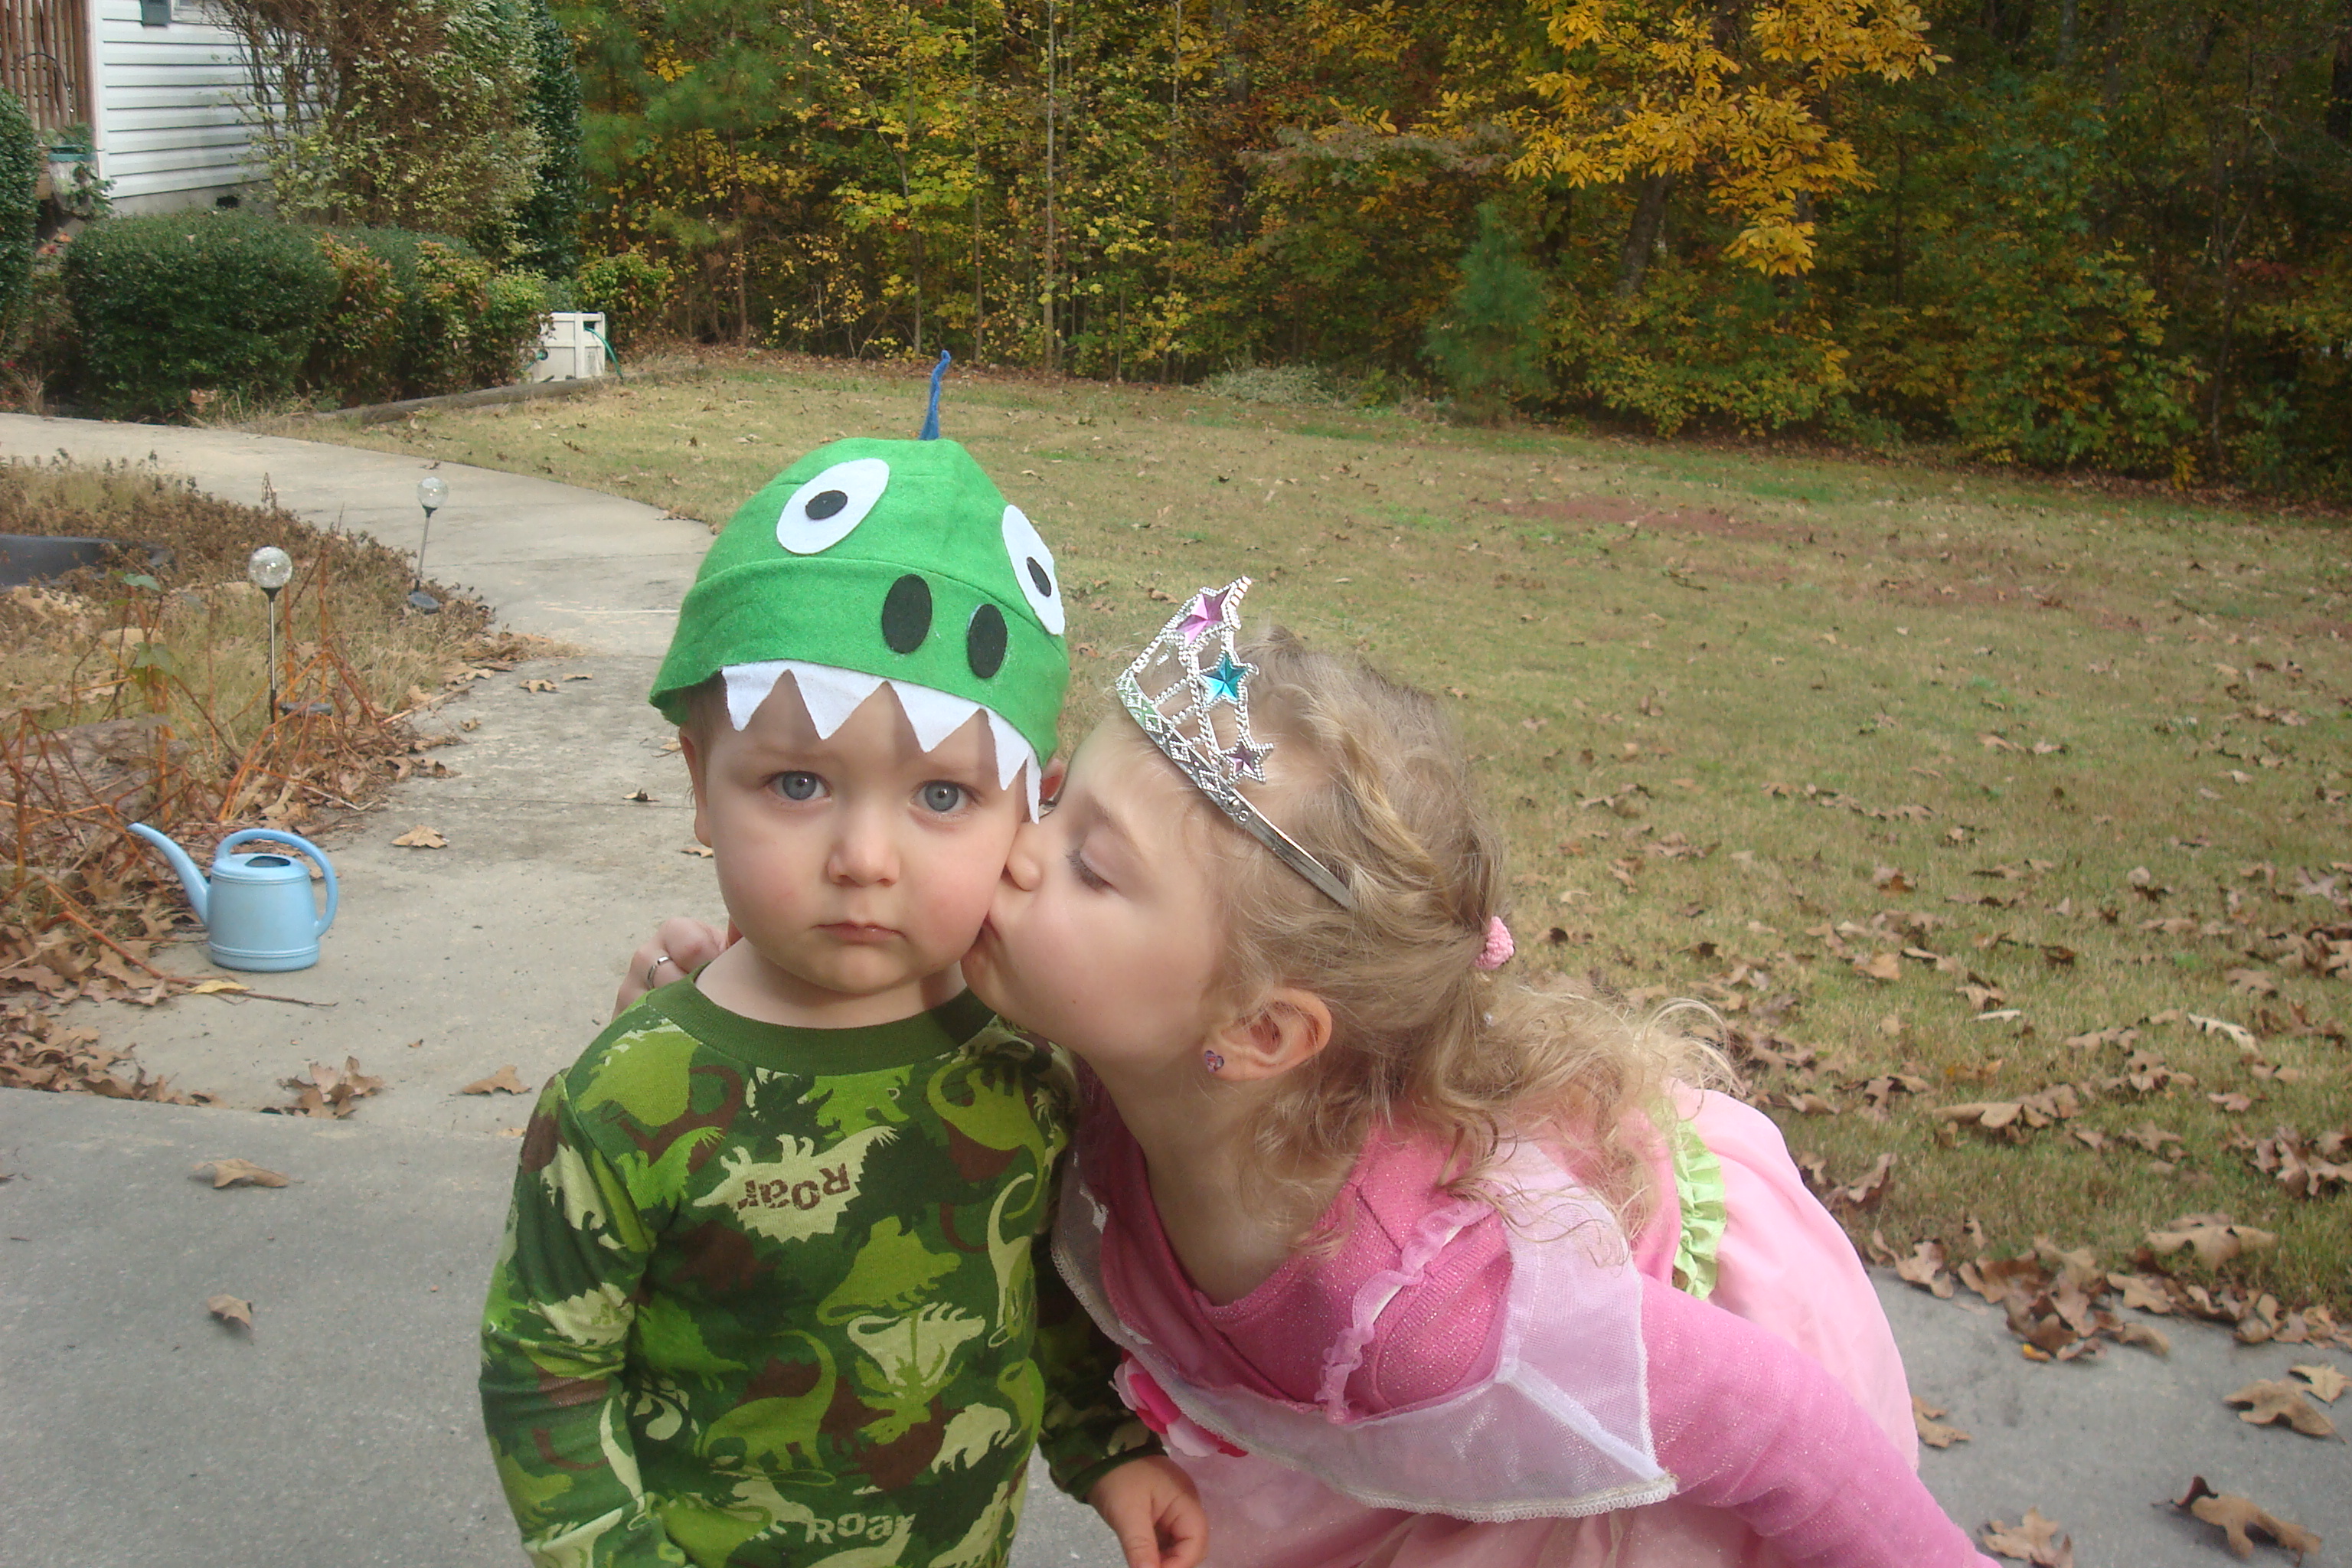
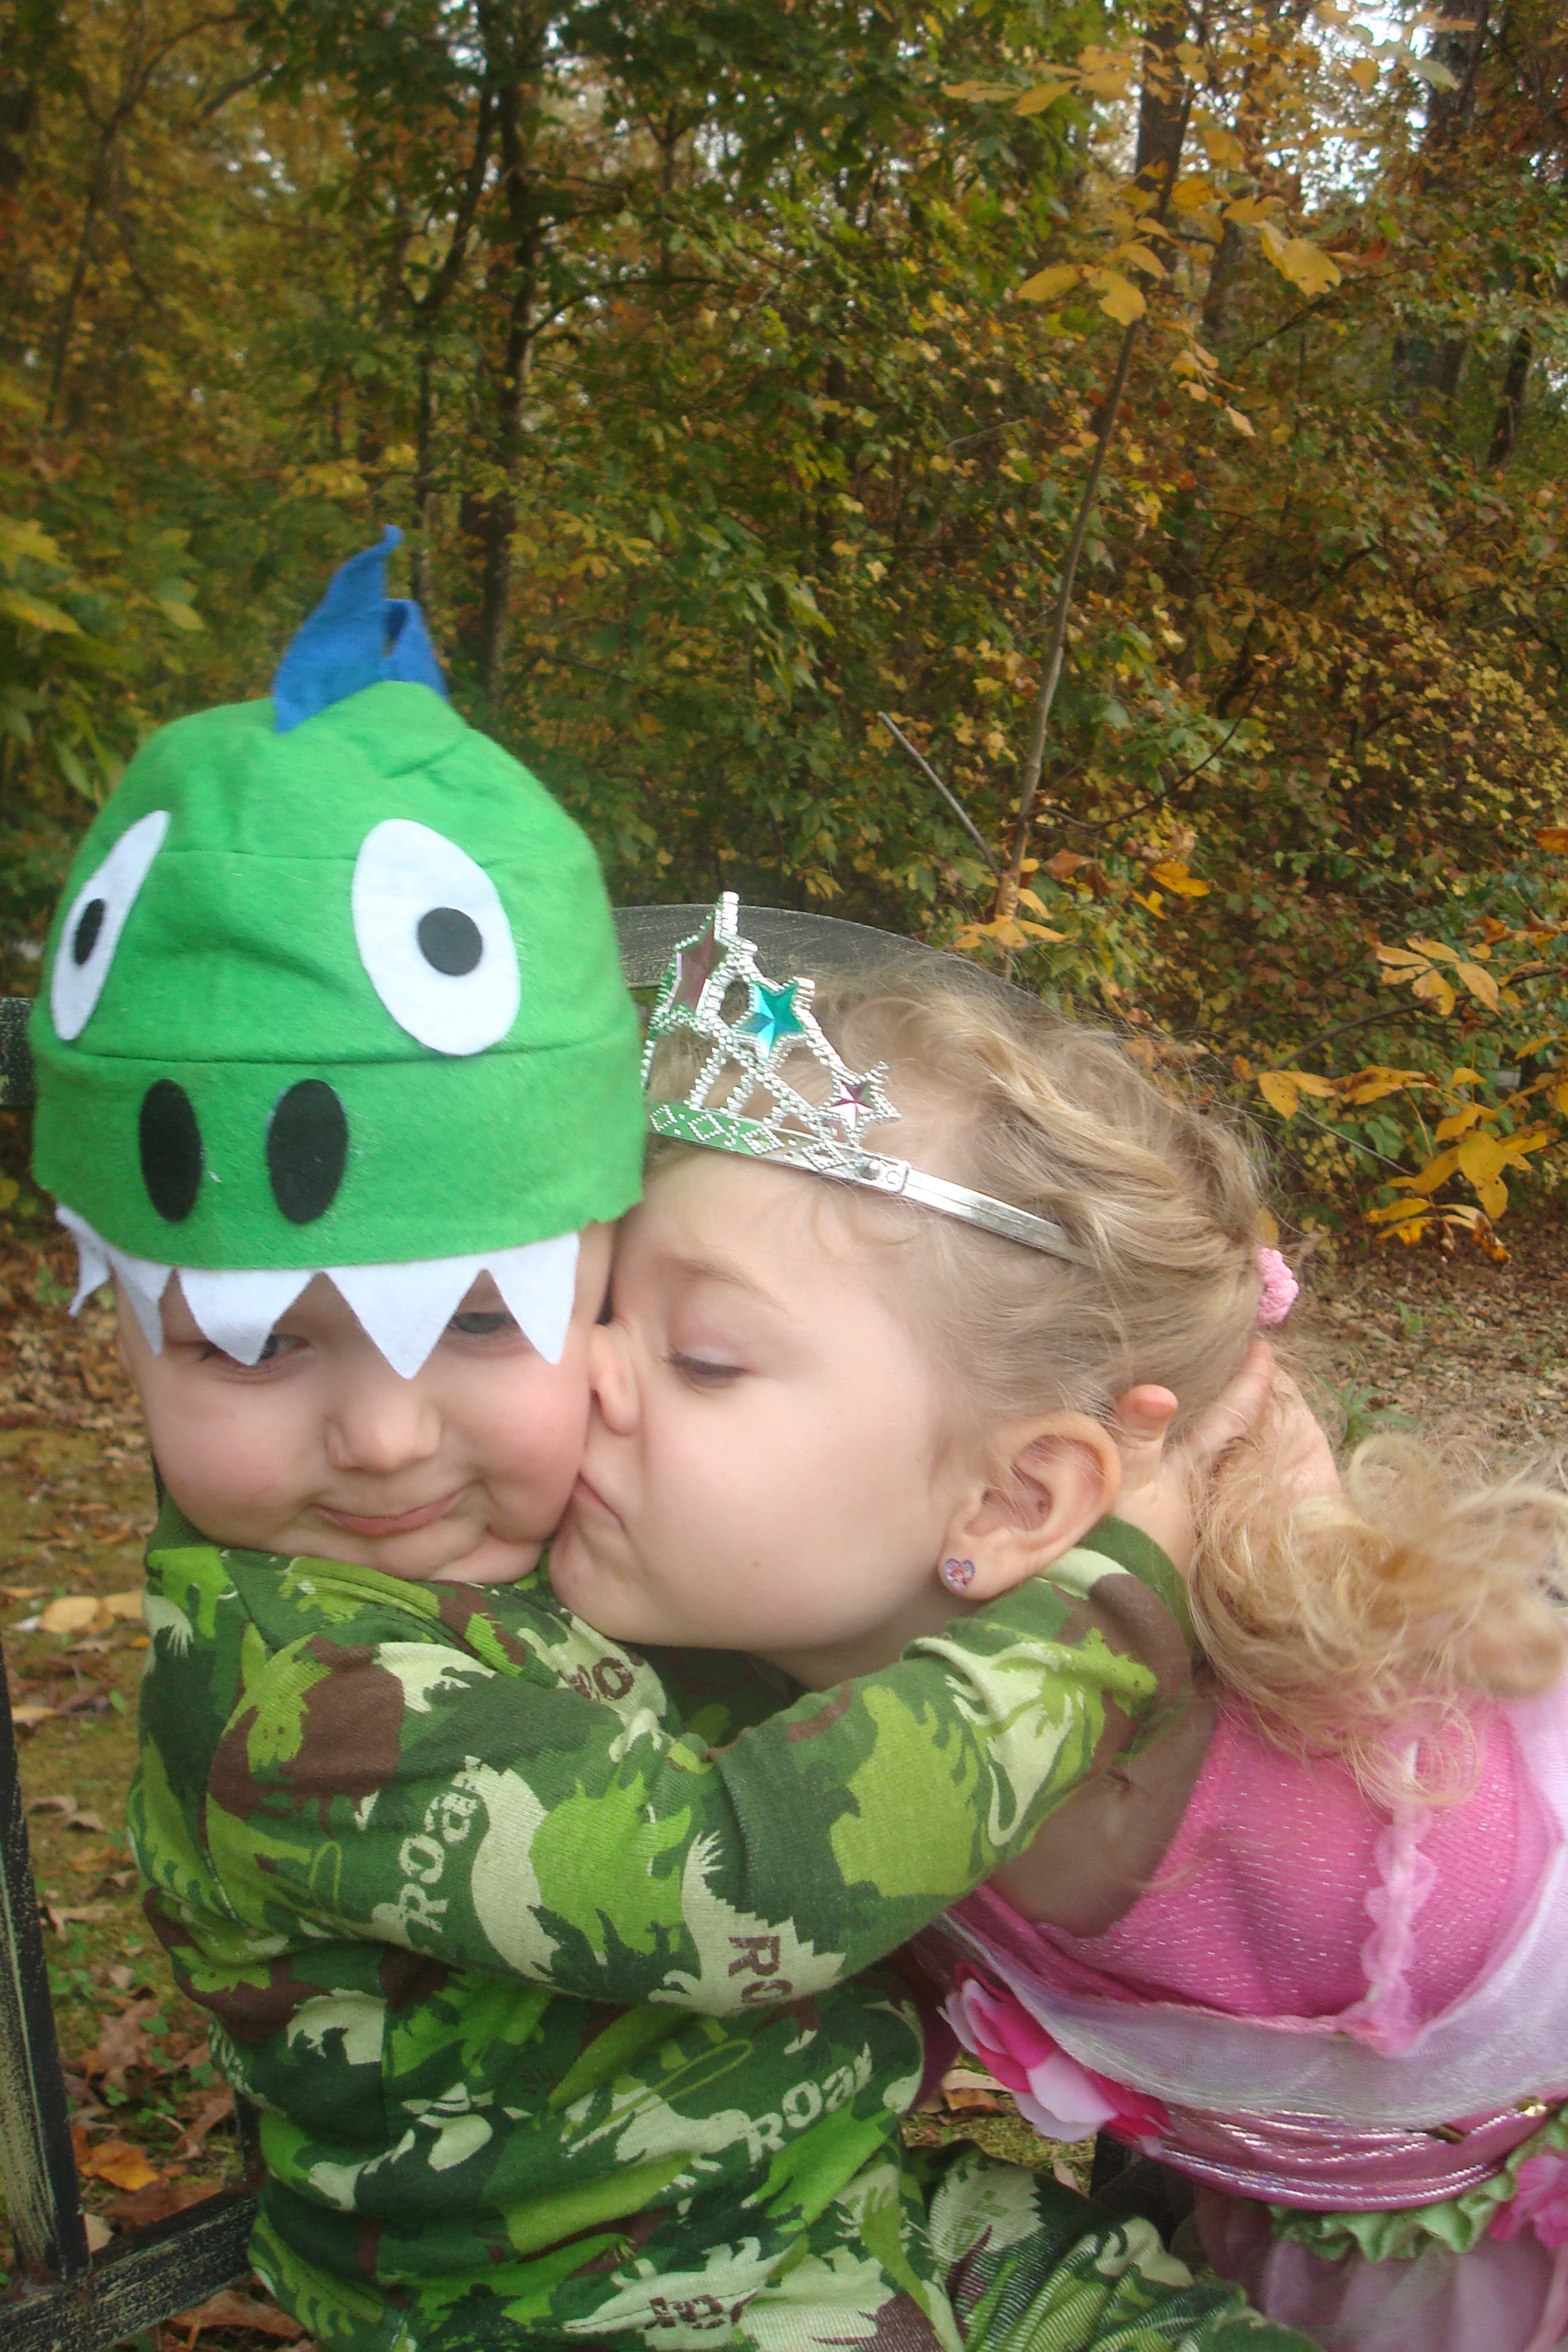
Walgreens has a free 8X10 photo collage you can order with the code BOOCOLLAGE. You can pick it up in your local Walgreens for free. I order these every time this deal is available, and they always turn out beautifully. This time I got one made of my two little ones in their costumes for a trunk or treat last night. The code expires 11-02-2013.
Shuttefly has 101 free prints, but you do have to pay shipping. I was able to use the code on 99 prints, which saved significantly on the shipping costs (they go up at 100 prints). It cost me $6.49, tax included, and they will be shipped right to my house. The code is SPOOKY. It expires 11-01-13, so hurry to get this great bargain!
If you miss the deadline on the 101 free prints, you can take advantage of the 50 free prints code 50FREEPRINTS. It doesn’t expire until 11-17-13. 🙂
I printed the photos I’ve illustrated this little share-a-thon with, among others. What will you use your codes to print? 🙂
My daughter loves all things cutesy and yummy. Combining those two loves, I sometimes make her snacks or meals in cutie patootie delicious forms.
Princess Peach loves peanut butter on crackers. I take large round crackers, peanut butter and either craisins or raisins. I spread the peanut butter on the crackers, then make faces, flowers or sun designs with the craisins or raisins. She loves it!
Flowery Crackers
She also adores marshmallows, so that was an obvious one to make a crafty critter out of. I took eight small pretzel sticks, painted a smiley face on a flat side with one of the pretzel sticks dipped into a drop of Hershey’s syrup, then jabbed them in the sides of the marshmallow to look like spider legs. This would be a fun and easy snack for those who celebrate Halloween.
Happy Spider
We often have sandwiches for lunch. Sometimes I’ll cut it into triangle shapes and put a large cherry tomato in the middle, all arranged like a flower. I’ll also take a cookie cutter and cut three or four pieces out of the sandwich in whatever shape it is.
Flower Sandwich
There is an endless array of cool things you can do with food! I only do the quick, easy and cheap varieties myself, since I am actually chasing around the kiddos I’m feeding, but I’ve seen some “food art” that would break your heart to eat.
Does anyone else like to get creative with food for their munchkins sometimes for no reason other than making them smile? 🙂
This is the first year my daughter has had a huge opinion about pumpkin decorating, and she wanted to do a family out of miniature pumpkins. She picked them out at the pumpkin stand (75 cents each- penny pincher insert 🙂 ), and was super excited to morph them into a pumpkin family to set out on our porch. I did not want to attempt carving pumpkins with two little ones. She wanted a happy family, not a spooky Halloween one, so I was thinking bright & cheerful things she could actually help with. So, I went to the Dollar Tree and got a few items I thought would work for decorating and for crafts later on, stretching my dollars further. We probably used less than $1.00 worth of supplies, so these pumpkins cost less than $1.00 apiece to make. Score!! 🙂 “Penny Pinching Peach is a participant in the Amazon Services LLC Associates Program, an affiliate advertising program designed to provide a means for sites to earn advertising fees by advertising and linking to Amazon.com”
Read on to find out how to make your own pumpkin family without carving.
I was too busy creating our cute little pumpkin family with my four year old to take step-by-step photos. I let her pick what she wanted on each one and how she wanted it. She helped as much as she could with actually doing it, like sticking on the glued pom poms for hair & noses, helping paint the eyebrows, eyelashes and mouths, and sticking on the eyes.
Sister & Brother Pumpkin
We just made cute pumpkins without a knife!!
Above are the first two we made- the little girl and little brother. My little girl wanted her girl pumpkin to have curls like her, so I made her hair into curls by twisting each pipe cleaner around a pencil and sliding it off.
Below are the mommy and daddy, which we did last. I just curled the very bottom of the mommy’s hair, since she wanted it to be pretty much straight and long like her own mommy’s. She chose all of the colors for everything herself. 🙂
Mommy & Daddy Pumpkin
Did anyone else decorate pumpkins this fall? Any other parents squeamish about knives, carving and small crazy people? 🙂